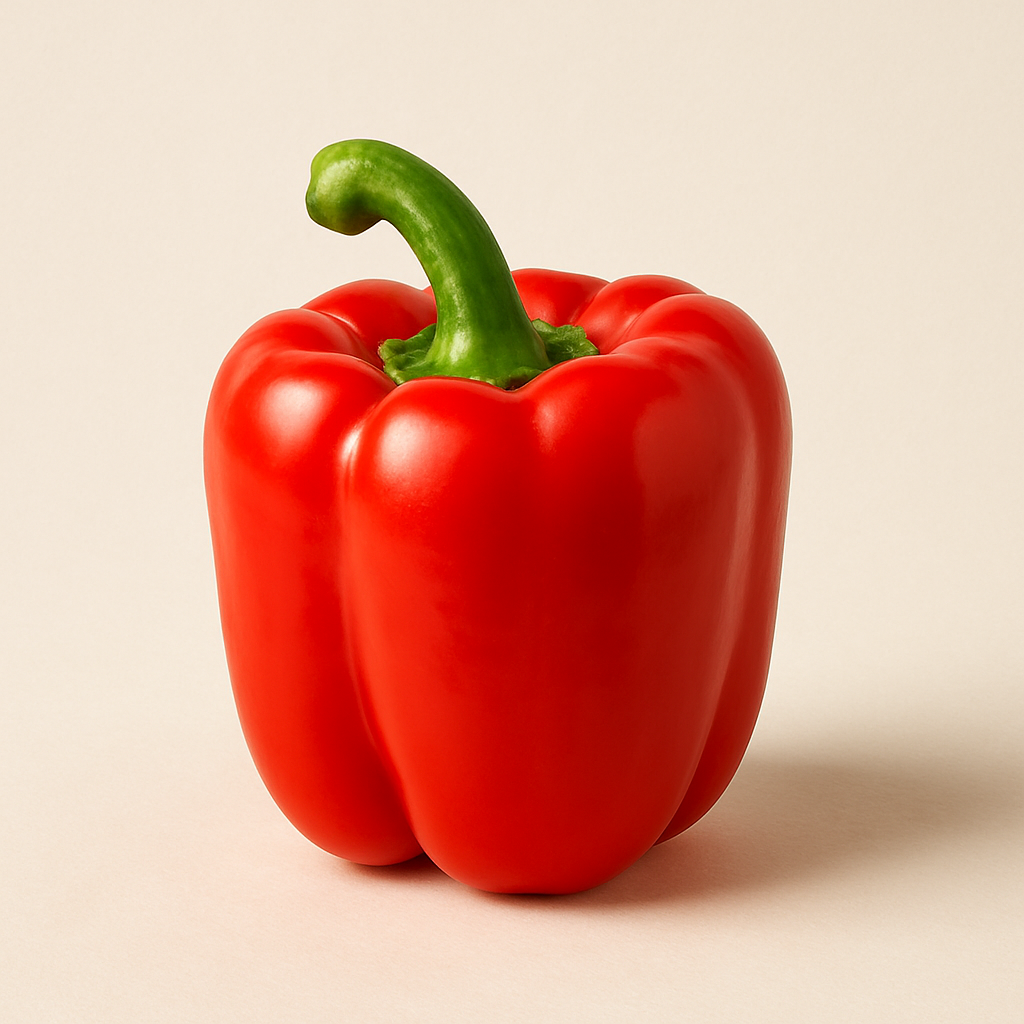
Bell Pepper
Capsicum annuum
Family: Solanaceae
Bell peppers are sweet, crunchy peppers with no heat. They come in green, red, yellow, orange, and even purple colors. Green peppers are unripe versions that will turn color if left on the plant. Colored varieties are sweeter than green.
Days to Harvest
60-90 days
Sun Needs
Full Sun (6-8+ hours)
moderate
Germination Temp
80°F optimal
Start Indoors
10 weeks before last frost
Germination
7-14 days
Seed Depth
1/4 inch
Light to Germinate
No
💡 Tip: Peppers need consistently warm temperatures for germination. Use a heat mat to maintain 80-85°F.
Soil Type
Rich, well-draining soil with good fertility
pH Range
6 - 6.8
Spacing
18-24 inches between plants, 24-36 inches between rows
⚠️ Avoid planting near:
History
Bell peppers belong to the species Capsicum annuum, which originated in Mexico, Central America, and northern South America approximately 7,500 years ago. Archaeological evidence from Tehuacan, Mexico shows that wild peppers were being gathered as early as 5,000 BCE, with cultivation beginning around 3,500 BCE. Christopher Columbus encountered peppers in the Caribbean in 1493 and brought them to Spain, where they were initially called "pimientos" (from "pimienta," the Spanish word for black pepper) due to their pungent taste. The key mutation that created the sweet bell pepper—a recessive gene that eliminates capsaicin production—likely occurred during early cultivation in Spain or Hungary during the 16th and 17th centuries. Hungarian paprika peppers, bred for sweetness during the Ottoman occupation, share ancestry with modern bells. The blocky, four-lobed bell pepper we recognize today was largely developed by American seed companies in the early 20th century, with "California Wonder" introduced in 1928 becoming the gold standard. The variety of colors beyond green emerged primarily in the Netherlands during the 1980s, when Dutch greenhouse producers developed red, yellow, and orange varieties that have since dominated global markets.
Nutritional Benefits
- ✓Extremely high in Vitamin C (more than oranges)
- ✓Red peppers contain beta-carotene and lycopene
- ✓Good source of Vitamin B6
Optimal Growing Temp
70°F - 85°F
Bell peppers thrive between 70-85°F. Growth slows significantly below 60°F and above 90°F. Night temperatures between 60-70°F are ideal for fruit set.
Survival Range
55°F - 95°F
Can survive these temperatures
Frost Note: Bell peppers are extremely frost-sensitive. Even light frost will kill plants. Temperatures below 50°F can stunt growth and cause flower drop.
Best USDA Zones
Humidity
50-70%
Moderate humidity preferred. Very high humidity (>85%) can reduce pollination success and increase disease risk. Low humidity (<30%) may cause blossom drop.
Height
18-30 inches
Spread
12-18 inches
Growth Habit
upright
Germination
7-14 days
Seeds germinate best at 80-85°F soil temperature. Use a heat mat for consistent warmth. First sprouts emerge as a loop pushing through soil surface.
Seedling Stage
Duration: 4-6 weeks
True leaves: First true leaves appear 14-21 days after sprouting
Transplant ready: Ready when 4-6 inches tall with 6-8 true leaves and stems as thick as a pencil. Begin hardening off 7-10 days before transplanting.
Vegetative Growth
Duration: 3-4 weeks after transplant
Steady growth phase with vigorous leaf development. Plants establish root systems and build sturdy framework. First flower buds appear at branch junctions.
Flowering
Timing: 4-6 weeks after transplant
Duration: Continuous throughout season
Bell peppers have perfect flowers and are self-pollinating. Wind and occasional insect visits ensure pollination. In greenhouses, gently shake plants to aid pollination.
Fruit Development
Begins: 60-90 days from transplant
Duration: 4-6 weeks from flower to green harvest, 6-8 weeks for colored
Fruits develop from pollinated flowers. Green peppers can be harvested immature. For colored peppers (red, yellow, orange), leave on plant an additional 2-3 weeks past green stage.
Harvest Maturity
Timing: 60-90 days from transplant
- Fruits reach full size (3-5 inches)
- Firm, glossy skin
- Green peppers: Deep green color
- Colored peppers: Full color development with no green patches
- Slight give when gently squeezed
Per Plant
6-10 peppers per plant (8-12 for compact varieties)
Per Square Foot
2-4 peppers per square foot
Harvest Frequency
Every 5-7 days once production begins
Factors Affecting Yield
- •Variety selection - compact varieties often more productive in small spaces
- •Temperature consistency - fluctuations reduce fruit set
- •Adequate water during flowering and fruiting
- •Balanced fertilization - too much nitrogen delays fruiting
- •Regular harvesting encourages continued production
- •Full sun exposure - minimum 6 hours daily
Seedling Stage
Keep consistently moist but not waterlogged
Established Plants
1-2 inches per week, deep watering every 4-5 days
During Fruiting
Consistent moisture critical during flowering and fruit development - avoid fluctuations
Preferred Method
Drip irrigation or soaker hoses are ideal. Water at soil level to keep foliage dry. Avoid overhead watering which promotes disease.
⚠️ Critical Watering Periods
- • Transplanting
- • Flowering
- • Fruit development
Pro Tips
- Water deeply to encourage deep root growth
- Mulch heavily to retain moisture and regulate soil temperature
- Water in early morning to reduce evaporation
- Reduce watering slightly as fruits ripen for better flavor
- Use drip irrigation for most efficient watering
Feeding Schedule
At Planting
Balanced slow-release or compost
Once
First Flowers
Low-nitrogen 5-10-10
Side-dress
Fruit Development
Tomato fertilizer or 5-10-10
Every 3-4 weeks
Peak Production
Light feeding with balanced fertilizer
Every 3 weeks
Organic Options
Side-dress with compost every 4 weeks. Apply diluted fish emulsion (half strength) every 2-3 weeks during fruiting. Add bone meal at planting for phosphorus.
Minimum Size
3 gallon minimum
Recommended Size
5 gallon for standard varieties
Depth Required
At least 12 inches deep
Best Varieties for Containers
Container Tips
- Use light-colored containers to prevent root overheating
- Ensure excellent drainage with multiple holes
- Container plants need more frequent watering - check daily in hot weather
- Use high-quality potting mix, not garden soil
- Feed every 2 weeks with balanced liquid fertilizer
- Position where plants receive 6-8 hours of direct sun
- Consider staking for support as fruits develop
Support Type
Small stakes or cages for support
Height Needed
18-24 inches tall
When to Install
Install at transplanting or when fruits begin developing
Method
Bell peppers are bushy and self-supporting but benefit from support when heavy with fruit. Use small tomato cages, bamboo stakes, or stake-and-string system. Loosely tie main stems to support.
Tips
- Support prevents branches from breaking under fruit weight
- Install early to avoid disturbing roots later
- Use soft ties or plant clips to avoid stem damage
- In windy areas, staking prevents toppling
- Not essential for compact varieties
Why Prune
When
Minimal pruning needed. Remove first flower bud (king bud) to encourage bushier growth. Prune only damaged or diseased foliage.
How Often
As needed for plant health
Technique
Pinch off the first flower bud that appears in the main stem fork to encourage branching. Remove lower leaves that touch soil to prevent disease. Trim any dead or yellowing leaves.
Remove
- ✗ First flower bud (king bud) for bushier plants
- ✗ Lower leaves touching soil
- ✗ Dead or diseased foliage
- ✗ Damaged branches
Keep
- ✓ All healthy leaves for photosynthesis
- ✓ Main stems and branches
- ✓ All flowers after the first king bud